Introducing SwiftUI on visionOS
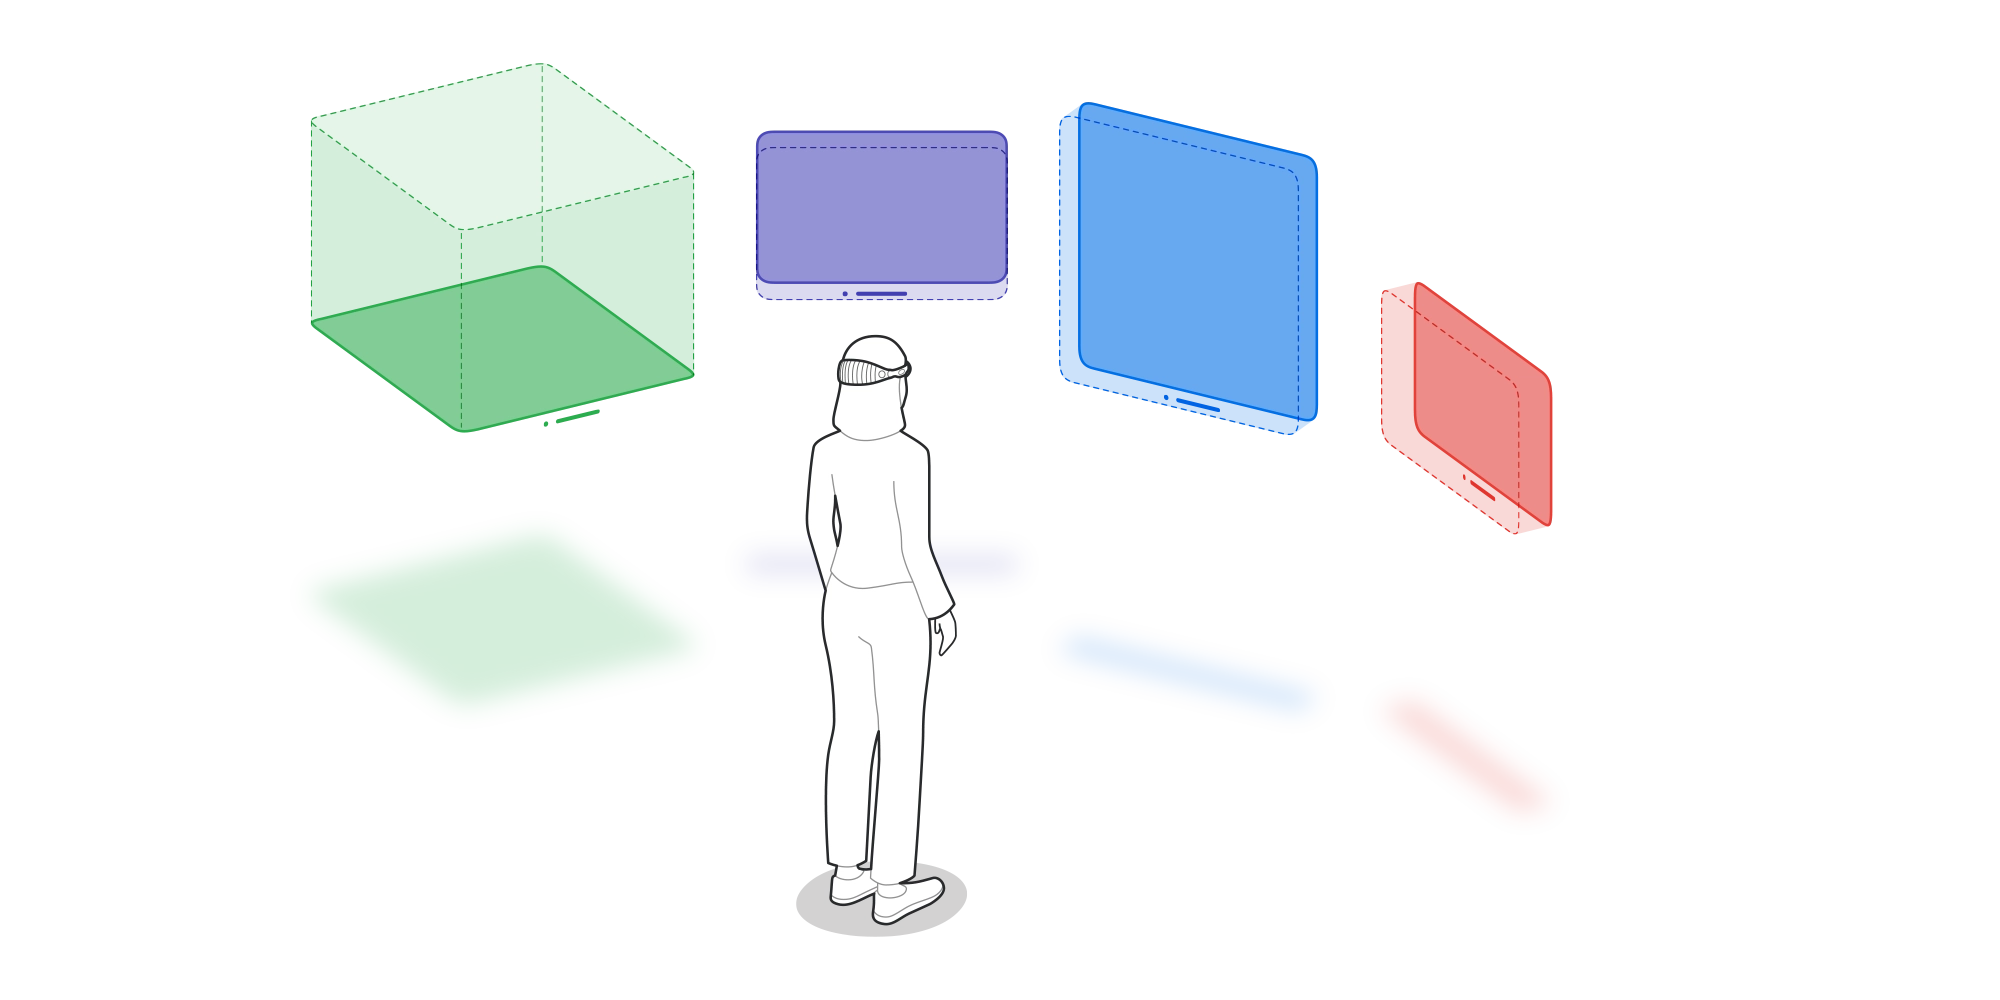
Apple Vision Pro is coming soon, and it is the perfect time to look at SwiftUI API, which allows us to adapt our apps to the immersive world that visionOS provides us. Apple states that the best way to build an app is with Swift and SwiftUI. This week, we will learn how to use SwiftUI to build a visionOS app.
Compare designs, show rulers, add a grid, quick actions for recent builds. Create recordings with touches & audio, trim and export them into MP4 or GIF and share them anywhere using drag & drop. Add bezels to screenshots and videos. Try now
Windows
What I love about SwiftUI is how it automatically adapts to the platform. You don’t need to do anything to run your app written in SwiftUI on visionOS. It works out of the box. But you can always improve the user experience by going forward and adapting the platform features.
struct ContentView: View {
    var body: some View {
        NavigationSplitView {
            List {
            // list content
            }
            .navigationTitle("Models")
            .toolbar {
                ToolbarItem(placement: .bottomOrnament) {
                    Button("open", systemImage: "doc.badge.plus") {

                    }
                }

                ToolbarItem(placement: .bottomOrnament) {
                    Button("open", systemImage: "link.badge.plus") {

                    }
                }
            }
        } detail: {
            Text("Choose something from the sidebar")
        }
    }
}
To learn more about building apps supporting multiple windows, take a look at my dedicated “Window management in SwiftUI” post.
In the example above, we use the new toolbar placement called bottomOrnament. Ornament in visionOS is the place outside the window presenting controls connected to the window. You can also create them manually by using the new ornament view modifier.
struct ContentView: View {
    var body: some View {
        NavigationSplitView {
            List {
            // list content
            }
            .navigationTitle("Models")
            .ornament(attachmentAnchor: .scene(.leading)) {
                // Place your views here
            }
        } detail: {
            Text("Choose something from the sidebar")
        }
    }
}
The new ornament view modifier allows us to create an ornament with a particular anchor point for the window it is connected to. Another option to adapt your app content to the immersive experience that visionOS provides is to use the transform3DEffect and rotation3DEffect view modifiers to incorporate depth effects.

Volumes
Your apps can display 2D and 3D content side by side in the same scene on visionOS. We can use the RealityKit framework to present 3D content in this case. For example, RealityKit provides us with the Model3D SwiftUI view, allowing us to display 3D models from the USDZ or reality files.
struct ContentView: View {
    var body: some View {
        NavigationSplitView {
            List(Model.all) { model in
                NavigationLink {
                    Model3D(named: model.name)
                } label: {
                    Text(verbatim: model.name)
                }
            }
            .navigationTitle("Models")
        } detail: {
            Model3D(named: "robot")
        }
    }
}
Model3D view works similarly to the AsyncImage view and loads the model asynchronously. You can also use another variant of the Model3D initializer, which allows you to customize the model configuration and add a placeholder view.
struct ContentView: View {
    var body: some View {
        NavigationSplitView {
            List(Model.all) { model in
                NavigationLink {
                    Model3D(
                        url: Bundle.main.url(
                            forResource: model.name,
                            withExtension: "usdz"
                        )!
                    ) { resolved in
                        resolved
                            .resizable()
                            .aspectRatio(contentMode: .fit)
                    } placeholder: {
                        ProgressView()
                    }
                } label: {
                    Text(verbatim: model.name)
                }
            }
            .navigationTitle("Models")
        } detail: {
            Model3D(named: "robot")
        }
    }
}
While presenting 3D content in your app, you can use the windowStyle modifier to enable volumetric display of your content. The volumetric style allows your content to grow in the third dimension to match the model’s size.
For more complex 3D scenes, we can use the RealityView and populate it with 3D content.
struct ContentView: View {
    var body: some View {
        NavigationSplitView {
            List(Model.all) { model in
                NavigationLink {
                    RealityView { content in
                        // load the content and add to the scene
                    }
                } label: {
                    Text(verbatim: model.name)
                }
            }
            .navigationTitle("Models")
        } detail: {
            Text("Choose something from the sidebar")
        }
    }
}
Immersive spaces
The third option on visionOS is the fully immersive experience, allowing us to dive into the 3D scene by hiding everything around by focusing on your scene.
@main
struct MyApp: App {
    var body: some Scene {
        WindowGroup {
            ContentView()
        }

        ImmersiveSpace(id: "solar-system") {
            SolarSystemView()
        }
    }
}
As you can see in the example above, we define a scene by using the ImmersiveSpace type. It allows us to enable it by using the openImmersiveSpace environment value.
struct MyMenuView: View {
    @Environment(\.openImmersiveSpace) private var openImmersiveSpace

    var body: some View {
        Button("Enjoy immersive space") {
            Task {
                await openImmersiveSpace(id: "solar-system")
            }
        }
    }
}
We can also use the dismissImmersiveSpace environment value to dismiss the immersive space. Remember that you can only display one immersive space at a time.
struct SolarSystemView: View {
    @Environment(\.dismissImmersiveSpace) private var dismiss

    var body: some View {
        // Immersive experience

        Button("Dismiss") {
            Task {
                await dismiss()
            }
        }
    }
}
Conclusion
Today, we learned the basics of the SwiftUI framework for the brand new visionOS platform. I hope you enjoy the post. Feel free to follow me on Twitter and ask your questions related to this post. Thanks for reading, and see you next week!